1. Additive Manufacturing Concept
For my future personal projects, I plan to use 3D printing technology to design and manufacture practical everyday items, interesting consumer products, and aesthetically pleasing structures. Rather than building massive engineering systems, I am much more fascinated by how additive manufacturing can solve immediate, real-world problems on a desktop scale. However, I realize that I still have many 3D modeling skills that I need to improve. This week's "loaded" (cheating) dice experiment serves as a fun starting point. My inspiration actually came from playing the dice mini-game in Kingdom Come: Deliverance II, which features many unique dice with special physical effects. Through this project, I proved that I can manipulate the internal infill structure and hidden cavities to alter an object's center of gravity, all while keeping the exterior completely seamless. I plan to apply these techniques to more clever functional items as my CAD skills grow.
2. Basic Slicing Workflow
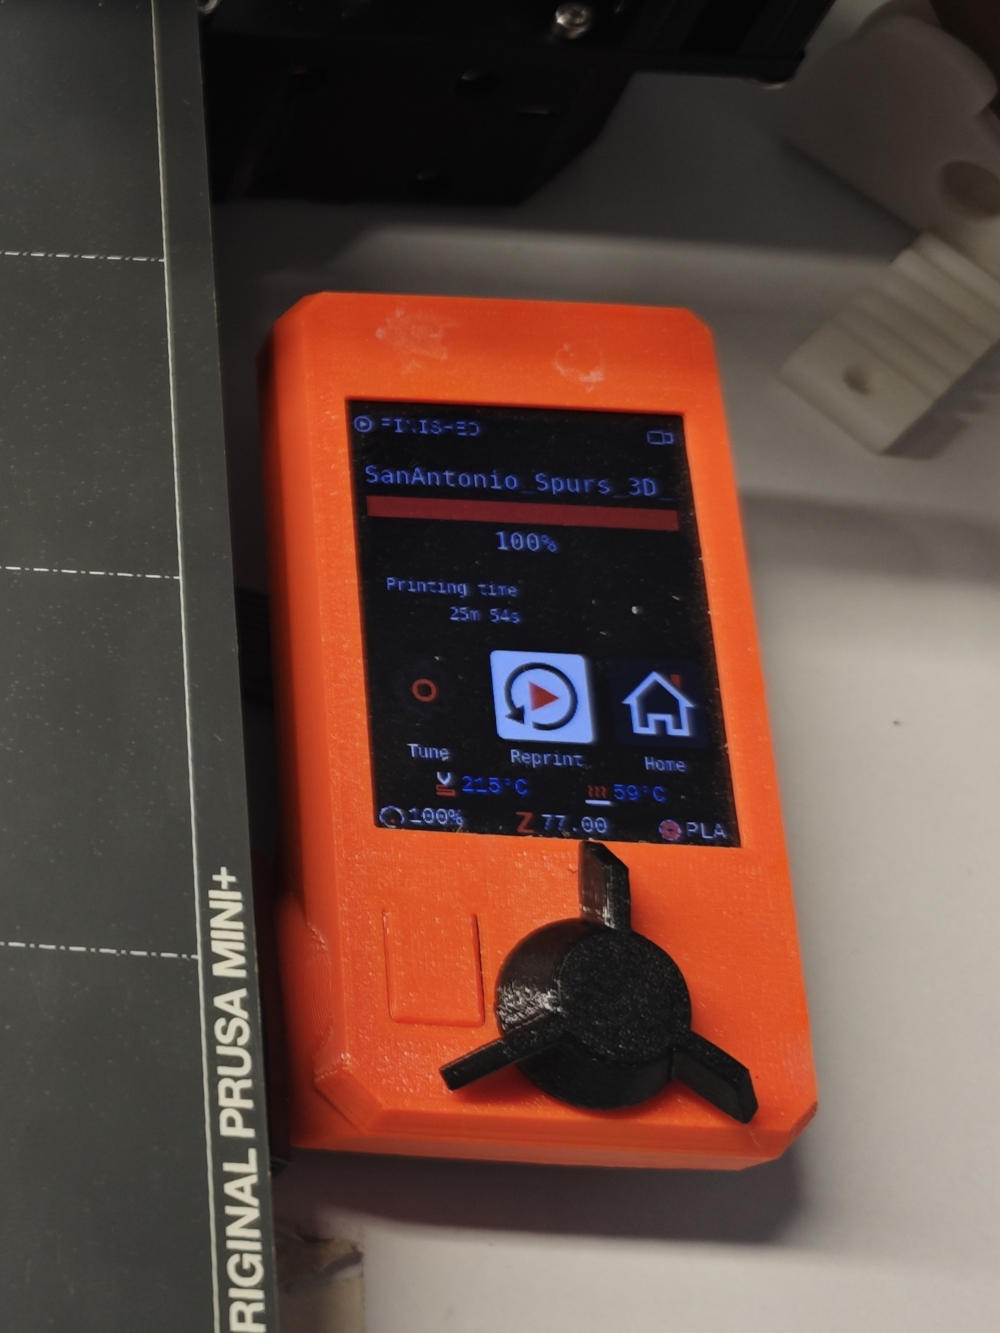
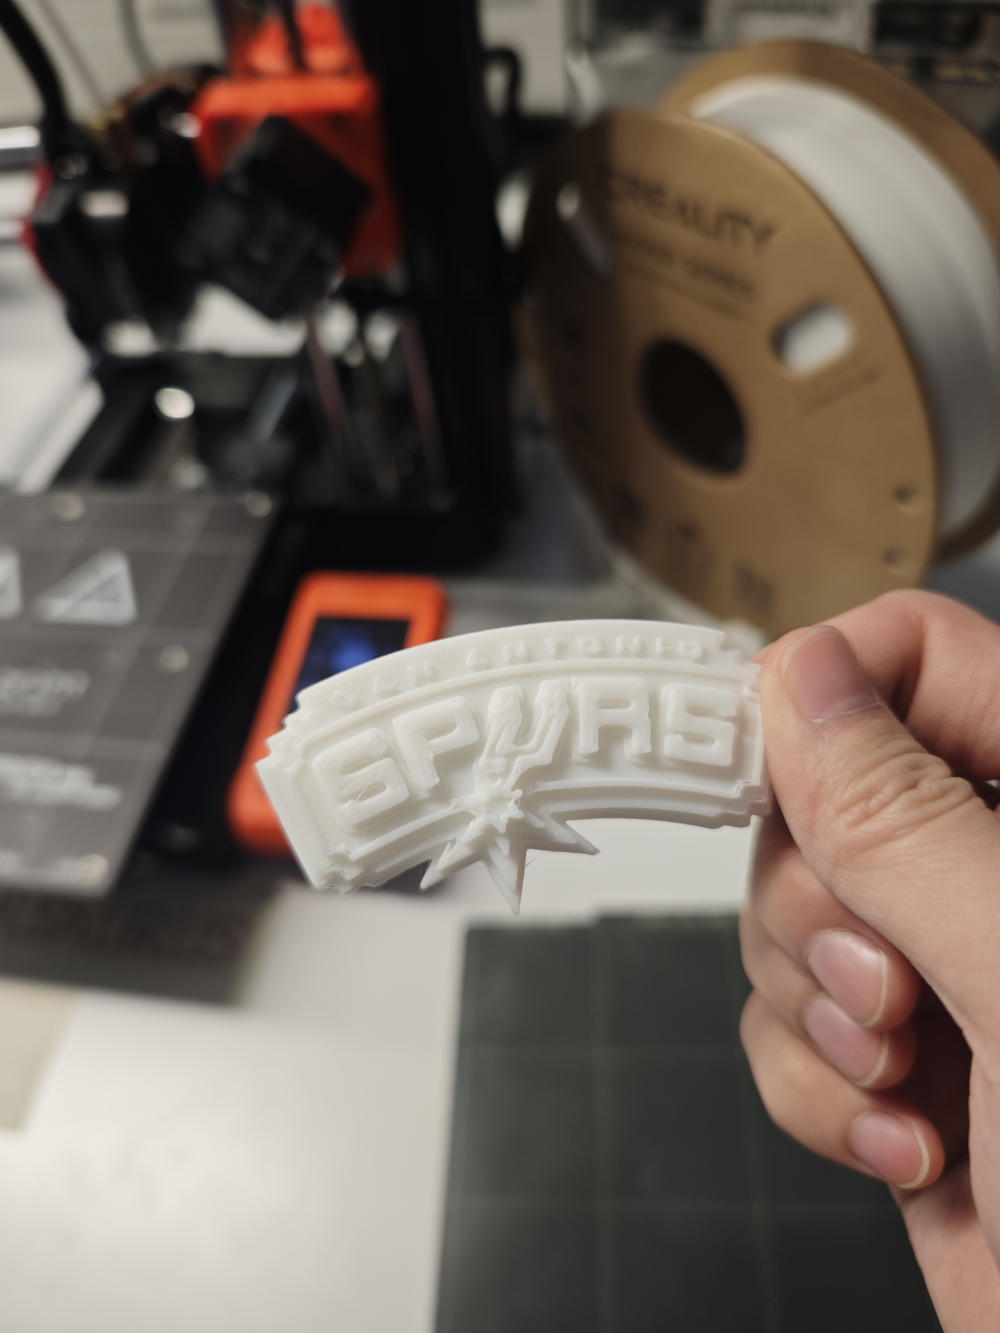
To familiarize myself with the 3D printing workflow at the Fablab, I started by printing a basic, pre-made object. I browsed Thingiverse and downloaded a 3D model of the San Antonio Spurs logo. I imported the downloaded STL file into PrusaSlicer and selected the profile for the Original Prusa MINI printer. For the slicing settings, I chose a 0.15mm layer height and set the infill to the standard 15%. Since my main goal for this test was to run through the machine's operation process and finish the print as quickly as possible, I used the slicer's scale tool to reduce the model's size by 50%. Thanks to this size reduction, the final estimated print time was brought down to only 25 minutes. The Prusa MINI worked flawlessly, resulting in a clean test print.
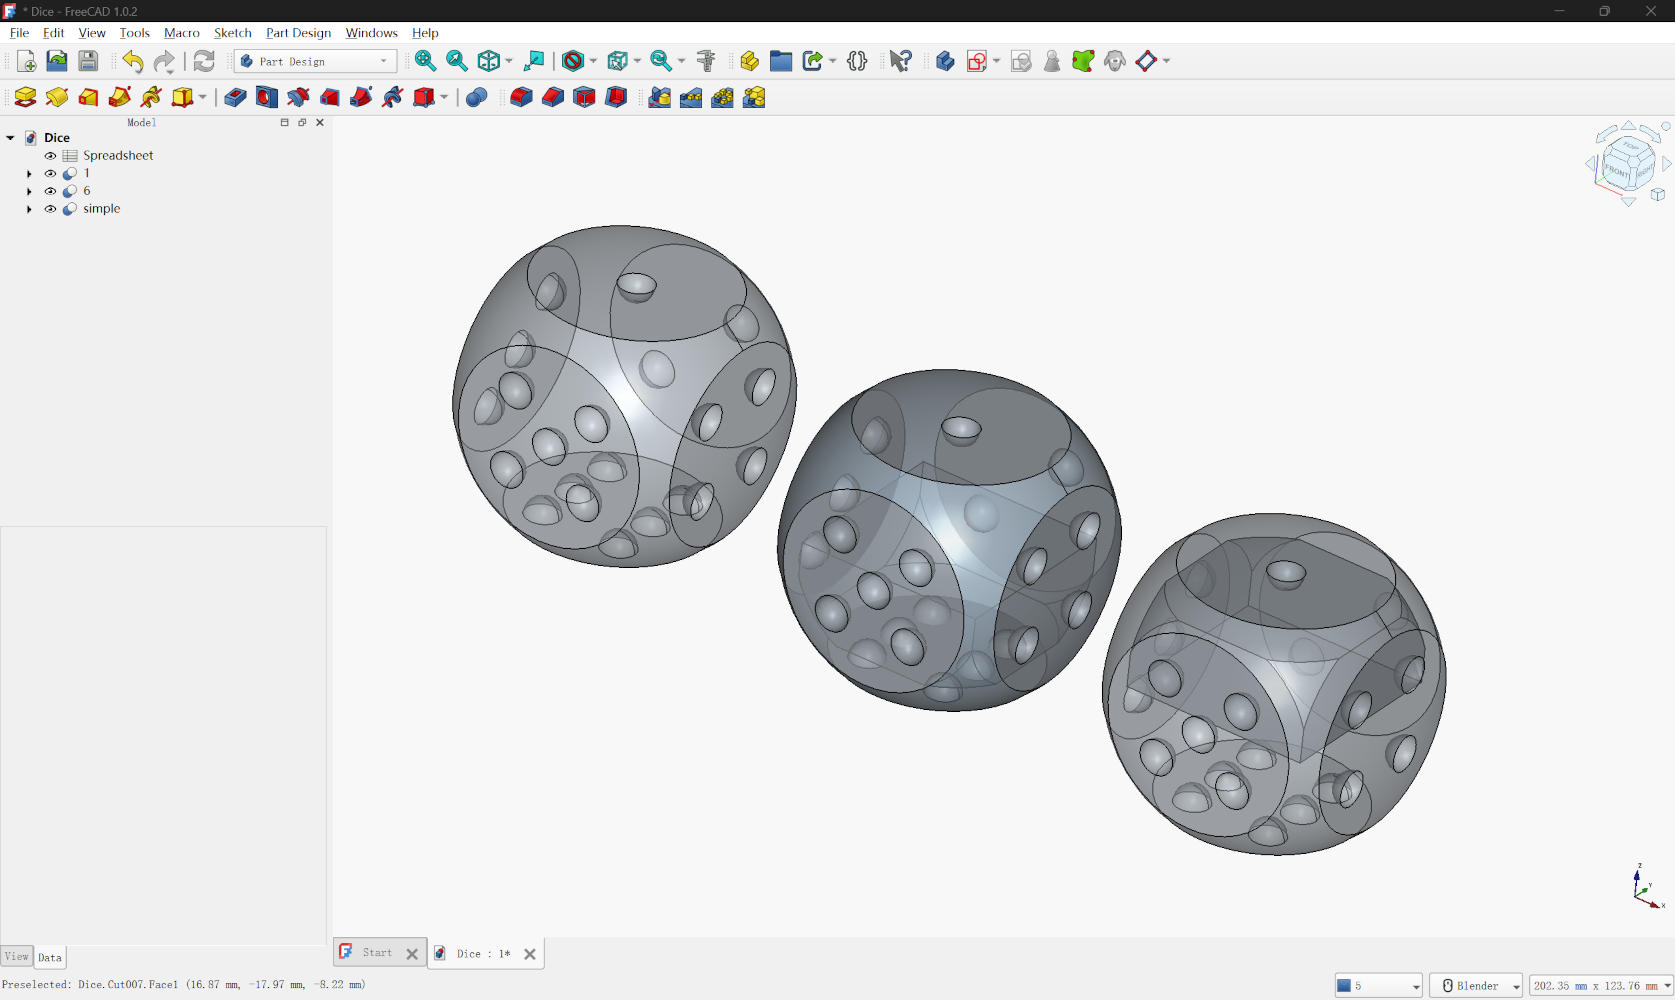
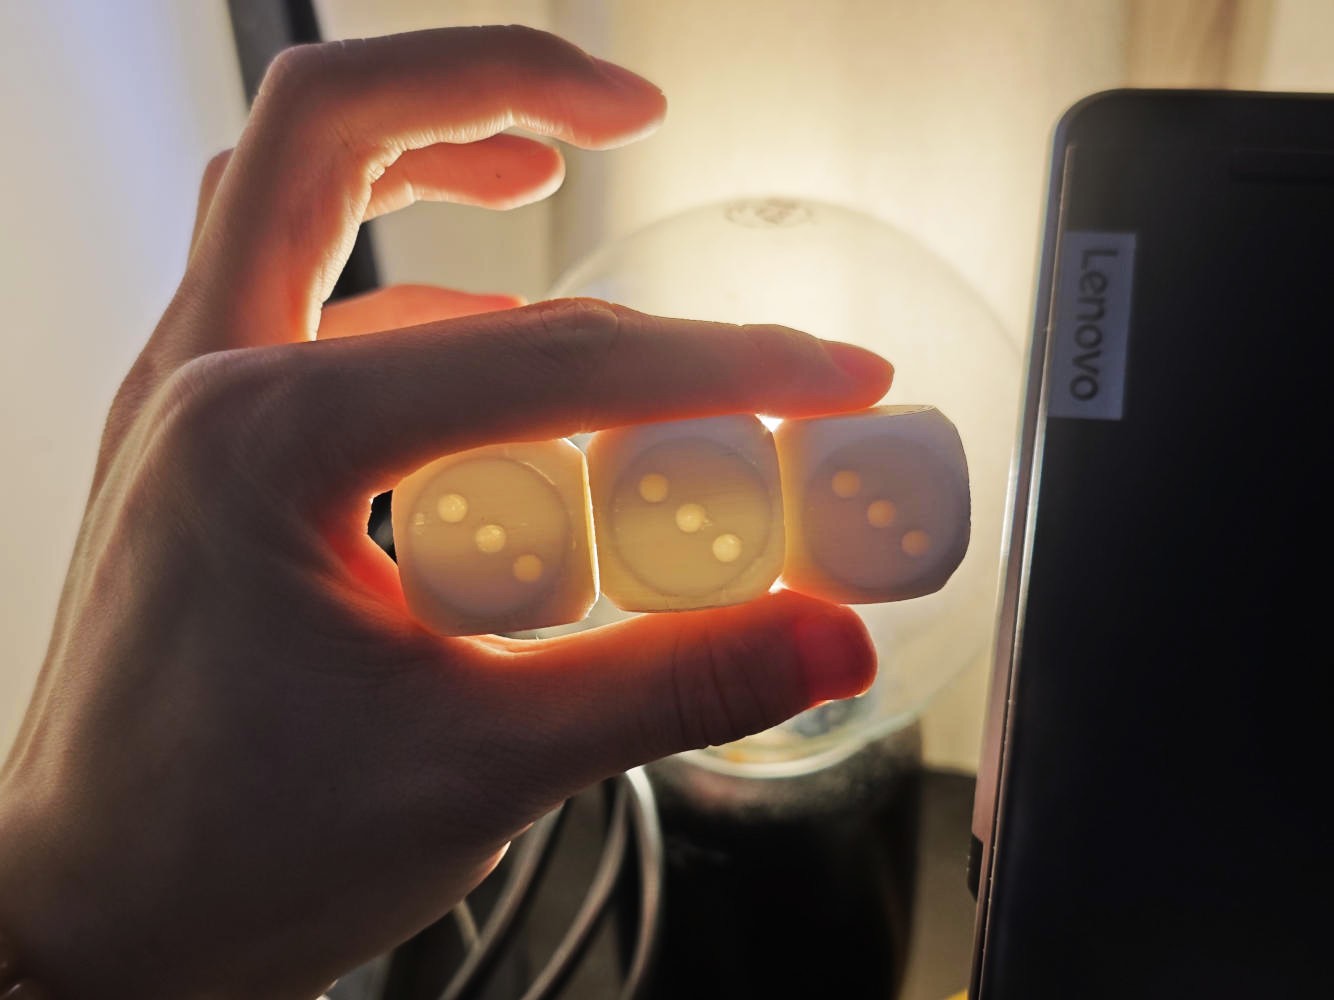
3. Parametric "Cheating" Dice
For my parametric design, I used FreeCAD to create two "loaded" dice. My goal was to build an object impossible to manufacture easily via CNC milling or laser cutting. Its key feature is a fully enclosed, off-center internal hollow cavity—a CNC mill cannot hollow out a seamless cube's interior without cutting it open. Using the Spreadsheet workbench, I fully parameterized the dice_size and pip dimensions. I started by padding a solid symmetric cube. The secret cheating mechanism was achieved using a Boolean Difference operation. I modeled a smaller "sacrifice" body and extruded it strictly into one half of the dice. By subtracting this offset body, half of the dice becomes hollow, while the other half remains a heavy, solid mass. Finally, I used the pocket tool to carve the numbered pips across all faces.
4. Strategic Slicing
I imported my two "loaded" dice along with a standard control dice into PrusaSlicer. To achieve the
physical cheating effect, I deliberately used unconventional slicing settings. I set the layer height to
0.1mm and drastically increased the infill percentage to 85%. This extremely high infill ensures the
solid bottom half is as heavy as possible, significantly shifting the center of gravity downward.
Furthermore, I completely disabled all support structures (Supports: None). Taking advantage of the
bridging capabilities of FDM printers, the machine can seamlessly span the flat ceiling of the hidden
internal cavity without needing supports, which would be impossible to remove anyway. Finally, to
optimize the process, I scaled the models down to 60% of their original size. Through these combined
adjustments, I successfully kept the total print time for all dice strictly under the 2-hour limit.
Download
Project Files (.zip)